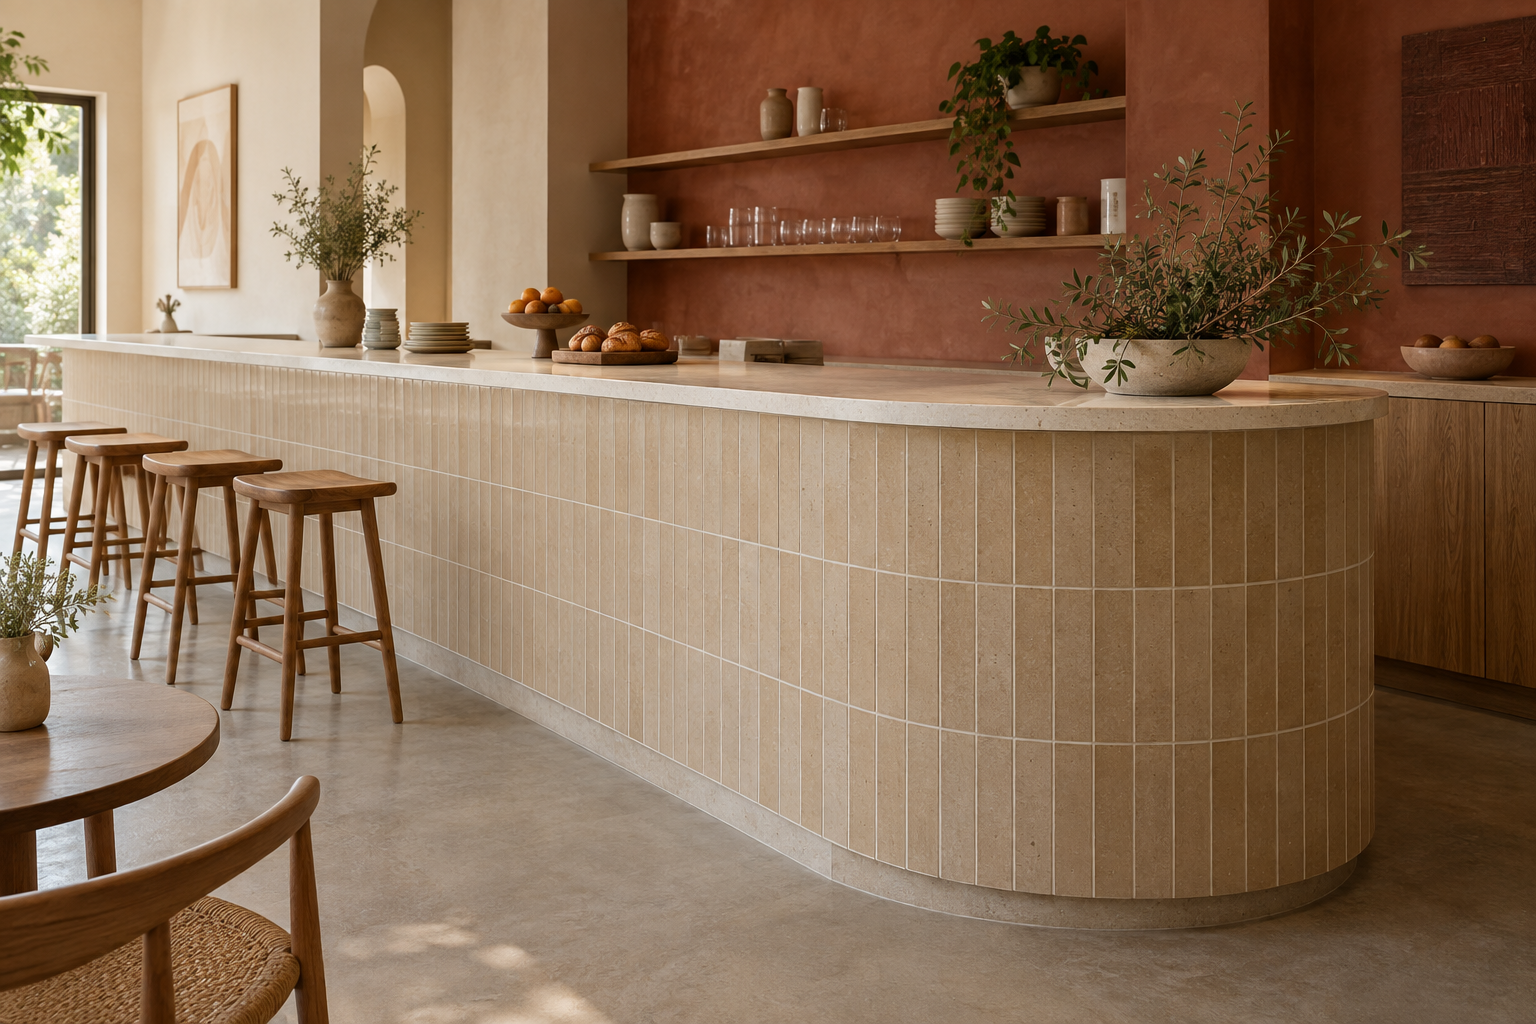
For a curved bar front, start with the width of tile that runs around the curve. Narrower pieces can form a finer sequence of flat faces, while wider pieces make the changes in angle more visible. Choose the format together with the finished radius, joint design and a physical curved mock-up before approving the surface.
A rounded counter can soften a cafe entrance or bring continuity to a reception desk. Its success depends on small decisions: where the straight run becomes a curve, how the joints turn, and how the tile meets the worktop and floor. These details are easier to resolve while the joinery is still being designed.
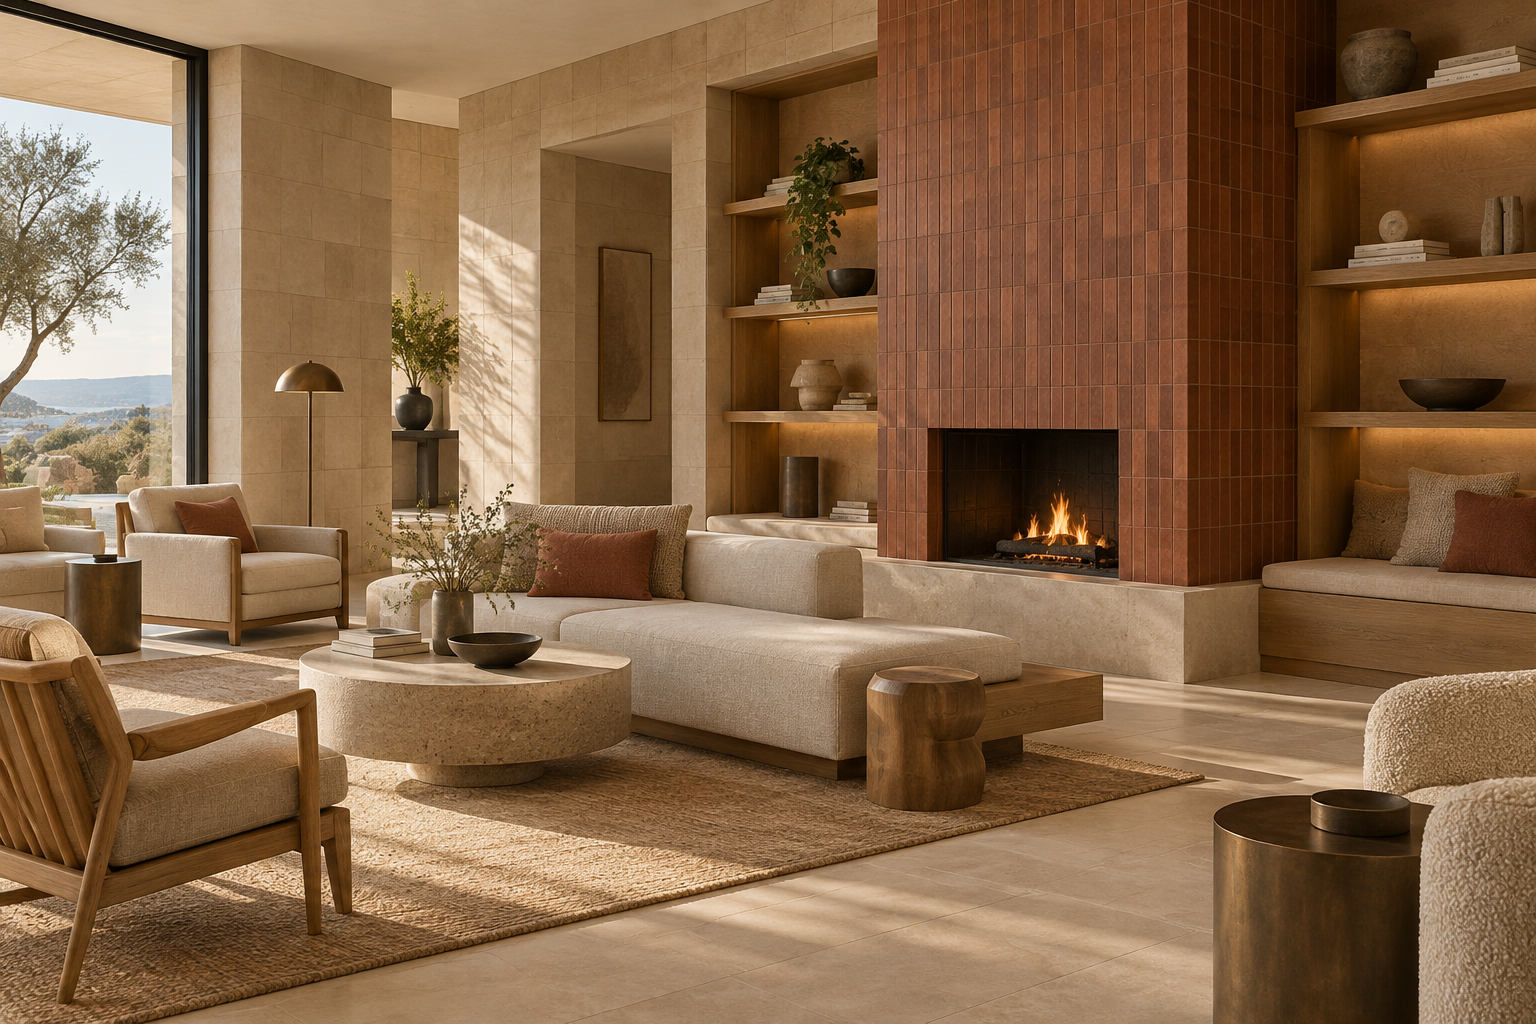
The three images in this article are AI-generated editorial concepts. They illustrate design ideas, not exact CLEM products, completed projects or approved construction details.
Can flat tiles follow a curved bar front?
Flat tiles can form a faceted surface around a curve when the product and complete installation system suit the design. Each piece remains flat; the change in direction occurs between neighbouring pieces. A group of narrow faces may read as a continuous curve from across a room, while the individual facets remain visible close up.
This is a geometry principle, not a minimum-radius approval for a particular tile. The actual result also depends on tile thickness, edge shape, joint spacing, the backing and the fixing system. Ask the project team to review the assembly at its intended radius.
Define the visual aim early. A softly continuous arc and a deliberately faceted counter are both possible design directions, but they require different expectations at sample review.
Why does tile orientation matter on a curve?
The dimension travelling around the curve matters more than the format name alone. Consider a nominal 3.6 x 15 cm rectangular tile. Placed vertically on a counter that curves in plan, its short dimension runs around the arc. Rotate the same tile horizontally and the 15 cm dimension runs around the arc instead.
That rotation changes the width of each flat face and the number of changes in direction along the counter. It also changes the joint pattern. A vertical arrangement creates a strong series of upright lines; a horizontal arrangement places longer faces across the curve.
CLEM's C03 Warm Sand page currently lists 15 x 15, 7.5 x 15, 5 x 15 and 3.6 x 15 cm formats. The narrower formats provide options to discuss for a curved-face study. Their presence in the catalogue does not establish that any one format suits a specific radius. Confirm actual dimensions, thickness and availability for the selected finish.
Which radius should appear on the drawing?
Identify whether the drawing dimension refers to the supporting structure, the prepared backing or the finished tile face. These surfaces sit at different positions through the wall build-up. A radius given for the joinery frame cannot be assumed to describe the finished appearance.
Show a plan and a section together. The plan should identify the straight-to-curved transition, the extent of the arc and its relationship to adjoining panels. The section should show the complete depth of the proposed finish beneath the worktop.
The counter front, backing and worktop edge may need different radius dimensions to achieve the intended overhang. Coordinate them before fabrication so that the worktop follows the agreed finished face.
For a counter with changing curvature, mark the tightest part separately. A sample made only to the broadest curve does not answer what happens at a tighter return.
How do joints change on a curved surface?
Adjacent flat tiles change angle as they turn around the counter. Joint appearance therefore depends on the curve as well as the edge shape and spacing. On an outward curve, the opening at the visible face can differ from the spacing nearer the back of the tile. An inward curve creates a different relationship.
Review the joints at the visible face and in a section through the mock-up. Do not assume that a spacer placed at one depth guarantees the same visible joint everywhere. The installer and system supplier should confirm the appropriate joint and fixing details for the actual assembly.
A grout close to the tile colour can reduce the visual contrast between modules. A contrasting grout emphasises each turn and can make faceting more prominent. Test the intended grout on the curved sample rather than relying on a flat display board.
Check the first few columns beside the straight-to-curved transition. An abrupt change in spacing there can be more noticeable than the centre of the curve.
Plan the worktop, base and visible ends together
A curved front does not stop at the main field of tiles. Its top, base and returns determine whether it feels resolved.
At the top, show how the tile meets the underside of the worktop and how much overhang is intended. Confirm how a cut edge will be concealed or finished. At the base, coordinate the tile with the plinth or recessed toe space, including how that detail continues around the bend.
At the ends, decide whether the tiled face turns onto a return, meets timber or stops at a designed trim. Plan any access panels and service openings before setting out the joints. Their locations can affect the first full tile and the width of the final cut.
Treat the vertical bar front and the horizontal worktop as separate specifications. A product proposed for decorative cladding is not automatically approved for the worktop's exposure, cleaning routine or edge demands.
What should a curved tile mock-up include?
Build the sample at the proposed radius using the selected tile and intended installation assembly. Include enough of the curve to show several joints and, where practical, the transition from the straight run. A loose arrangement is useful for exploring the idea; the approval mock-up should represent the finished result.
Include these items in the review:
- Selected colour, format, finish and actual tile thickness
- Proposed radius and tile orientation
- Representative backing and fixing system
- Intended grout colour and visible joint treatment
- Worktop edge, base and one representative return
- A record of the product references and agreed details
Review the sample from the entrance, from a seated position where relevant, and close to the counter. Check it under the planned lighting. A light washing across the front may reveal each facet more strongly than general room lighting.
Keep an identified part of the approved sample or a documented reference for the fabricator and installer. The small studio model in our concept image illustrates the review process; it is not a recommendation to bond tile directly to the pictured plywood.
Does a smaller tile always give a better result?
No. Smaller widths can make the changes in direction less pronounced, but they also introduce more joints and may change the labour, detailing and visual rhythm. A broader radius may work with wider modules when a more defined faceted appearance is intentional.
Ask for the proposed layout to be reviewed as a whole. If a mosaic format is being considered, confirm the individual piece size, sheet arrangement and suitability of its backing for the intended curve. A sheet dimension alone does not describe how the pieces will turn.
The useful comparison is between two layouts at the same proposed radius, with the same viewing distance and lighting. That shows the effect of format without allowing a different curve or photograph to decide the result.
What should you send with a CLEM sample enquiry?
Send a plan and a short specification brief so the sample request addresses the curve, not only the colour. Include:
- Project location and whether the surface is a bar front or reception desk
- Product code, colour and finishes being considered
- Preferred format and direction of laying
- Finished-face radius, or a clearly labelled radius still to be coordinated
- Approximate area, visible ends and intended worktop material
- Request for applicable technical data and installation guidance
For example: "We are developing a curved cafe counter front in C03 Warm Sand. Please help us compare the available narrow formats in the proposed finish. Our drawing identifies the curve and intended tile direction. Please confirm sample availability and the product information needed for our installer to assess this assembly."
Review the current product page for format options and use CLEM's technical contact for project-specific information. Agree the geometry and mock-up before finalising the joinery: the most useful sample is the one that answers how the whole curved surface will look and be detailed.
Research notes
Sources & verification
- Product format options and context: CLEM C03 Warm Sand page, checked 17 September 2026. Confirm actual dimensions, thickness, finish and project-specific suitability before specification.
- https://www.clemstonetiles.com/product-c03-warm-sand.html
- https://www.clemstonetiles.com/specifications.html
- The layout discussion is editorial design guidance and general geometry, not a CLEM minimum-radius or installation-system approval. All three images are AI-generated editorial concepts created on 17 September 2026, not exact product photographs, completed projects or technical evidence.
Technical suitability and current availability should be confirmed for each project.